Pure Rye Sourdough Bread (fast and simple)


How did this pure rye sourdough bread come to be?
I decided to start my sourdough journey several months ago for two reasons. The first one was that the idea of making bread solely of flour and water seemed very appealing to me. The second one was the fact that sourdough bread stays fresh for longer, which is a very important factor for someone like me, who doesn´t eat that much bread.
So, I made my starter and everything worked like a charm. But then the moment to bake my first loaf of bread came, so I started reading about it online and choosing the right recipe….and I got totally overwhelmed. All of these recipes seemed to me like you have to quit your job and focus only on making sourdough bread and after 10 years you might eventually get it right. Jokes on the side, I knew it wouldn´t fit my schedule (still totally amazed by the people who do it).
Also, I try to use healthier alternatives for wheat flour as often as possible, and I knew from the beginning that I wouldn´t be able to achieve the same beautiful crust and texture by using different flour. So, I decided to ignore 90% of the rules and just improvise. I thought to myself " This is the amount of effort that I´m willing to put into baking my weekly loaf of bread, so I will try. Either it goes well or I´m done with it." And guess what? It went great! And I´ve been baking my bread this way for months already.

FAQ
Why rye flour? Because it:
- is loaded with vitamins and minerals such as magnesium, zinc, iron, and others
- keeps you full for longer, which directly contributes to losing weight
- is high in fiber
- has less gluten and is easy to digest
- helps control blood sugar
- is absolutely delicious
How and for how long should you store this pure rye sourdough bread?
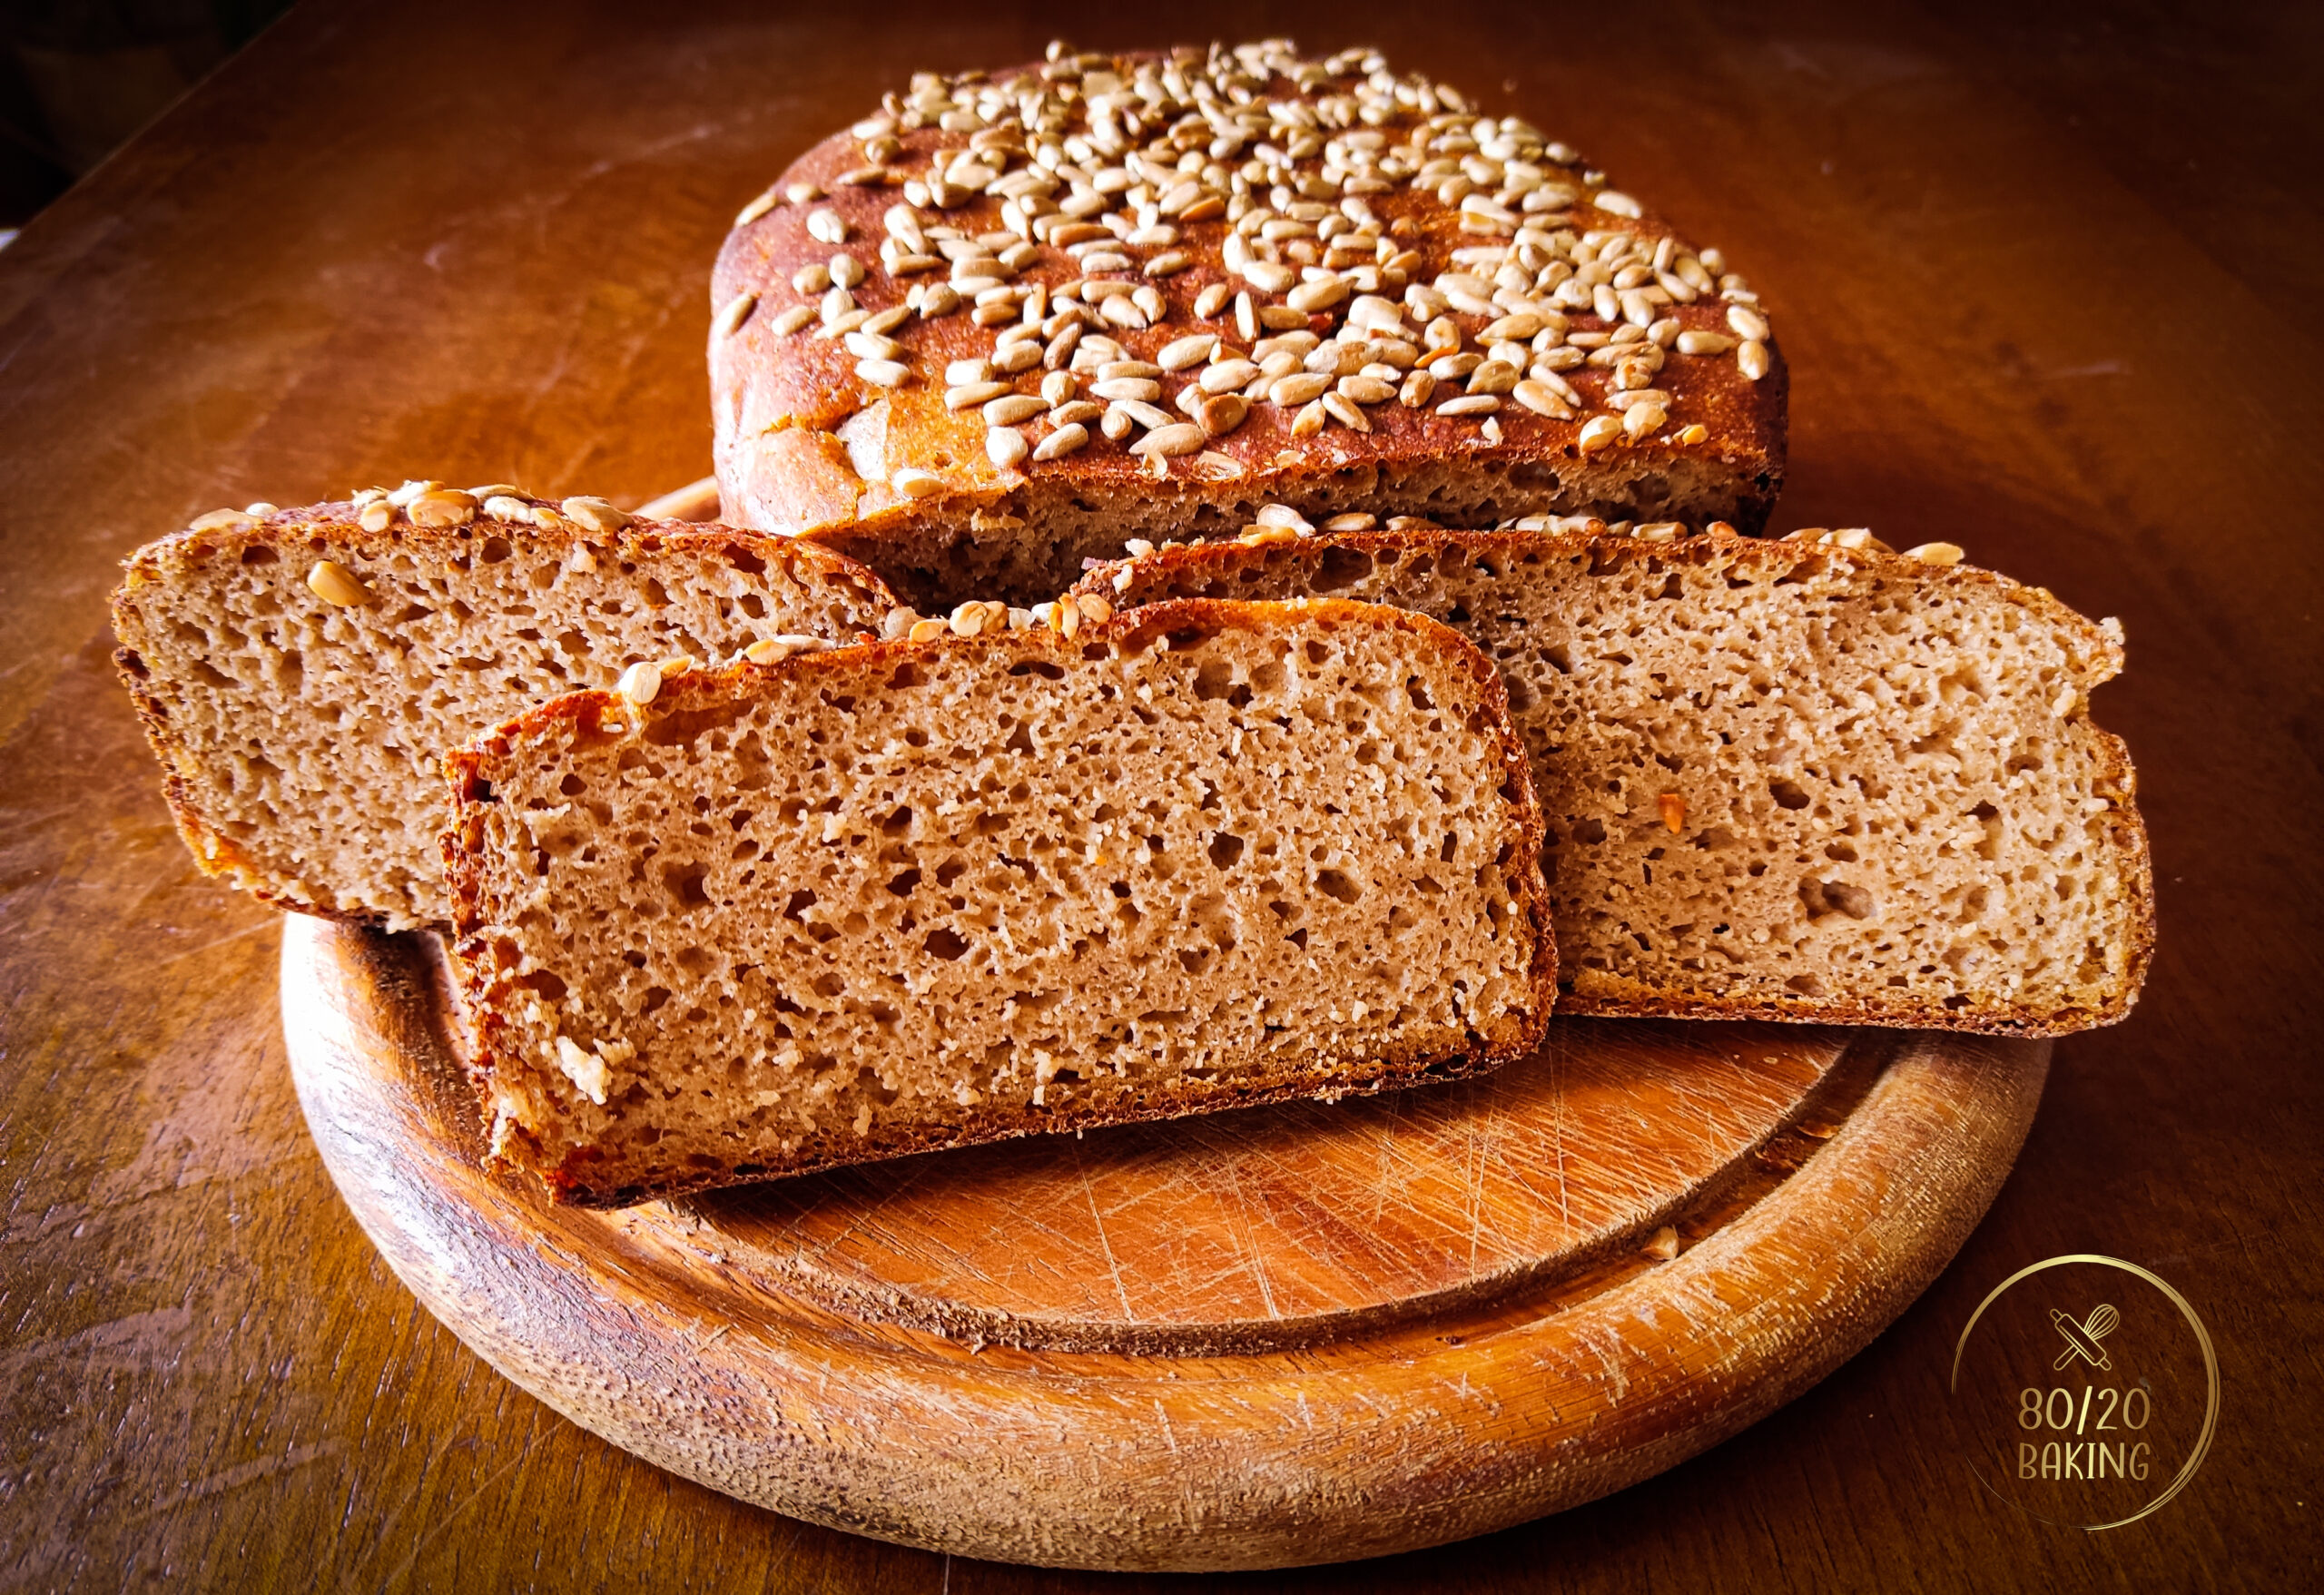
I store my pure rye sourdough bread in the same dish that I baked it in, covered with the lid of course. It can stay on the counter for up to a week (depending on the room temperature). This is one of many great things about this bread- it really stays fresh and tasty for days without drying out.
What kind of a baking dish should I use for it?
I use a ceramic baking dish with a lid. Dimensions are 23x16 cm.
How to make a rye starter?
Ok, so you will need about a week to get your starter ready before you can start baking your bread. Preparing this starter should take only a couple of minutes of your time every day until it becomes ready for baking. So let´s simplify this as much as we can:
What you will need:
- a bigger glas jar with a lid
- rye flour
- water
How to do it?
1.Day 1: Mix 60 g of flour with 60 g of water in the jar until it becomes homogenous. Close the jar and leave it on the counter.
2. Day 2: Add another 60 g of flour and 60 g of water to it, and mix until homogenous. Close the jar, and leave it on the counter.
3. Day 3-7: Every day remove half of the starter and throw it away (or use it in some other dish). Then add 60 g of flour and 60 g of water, mix until homogenous, close the jar, and leave it on the counter. Your starter should already start getting some bubbles.
4. If your starter doubles in size in 4 hours or less, you are ready to bake! This usually happens around day 7 but it is not the rule. If your starter shows too little activity, just continue feeding it like described in the step for days 3-7.
5. Once your starter is ready, you can start using it for baking but you can also start keeping it in the fridge. This means no more discard (throwing half of it away). If you keep your starter in the fridge, you have to feed it once per week.
This is how I do it: I usually bake once per week so I take my starter out of the fridge, take 60 g of it to a separate bowl or jar (it has to have a lid), and mix it with an additional 60 g of water and 60 grams of flour. This will give me around 180 g of active starter that I can later use for my bread. The rest of the starter I feed with 60 g of flour and 60 g of water as well and put it back into the fridge until next week.
If you decide to bake 2 times a week, you don´t have to feed your starter the second time. Just get the 60 g of starter, mix it with 60 g of flour and 60 g of water (as described above), and just put what´s left in the jar back into the fridge.
6. Approximately 4 hours after feeding your starter it should be active and bubbly. Now you can make your bread dough.
- 500 grams rye flour
- 350 milliliters water (room temperature)
- 150 grams bubbly rye starter (ca 4 hours after feeding it)
- 10 grams salt
- seeds (optional)
Is your starter at its peak? Then you´re ready to start.
- Simply mix all of the ingredients together until you get a homogeneous and sticky mixture.
- Transfer it to a baking dish (which you previously lined with baking paper), put the lid on, and leave it at room temperature for 10 hours but a couple hours more also won´t hurt (do it as it fits to your schedule).
- Now your bread is ready for baking. If you are in a hurry and can´t bake it now, just put it in the fridge and bake it in a couple of hours.
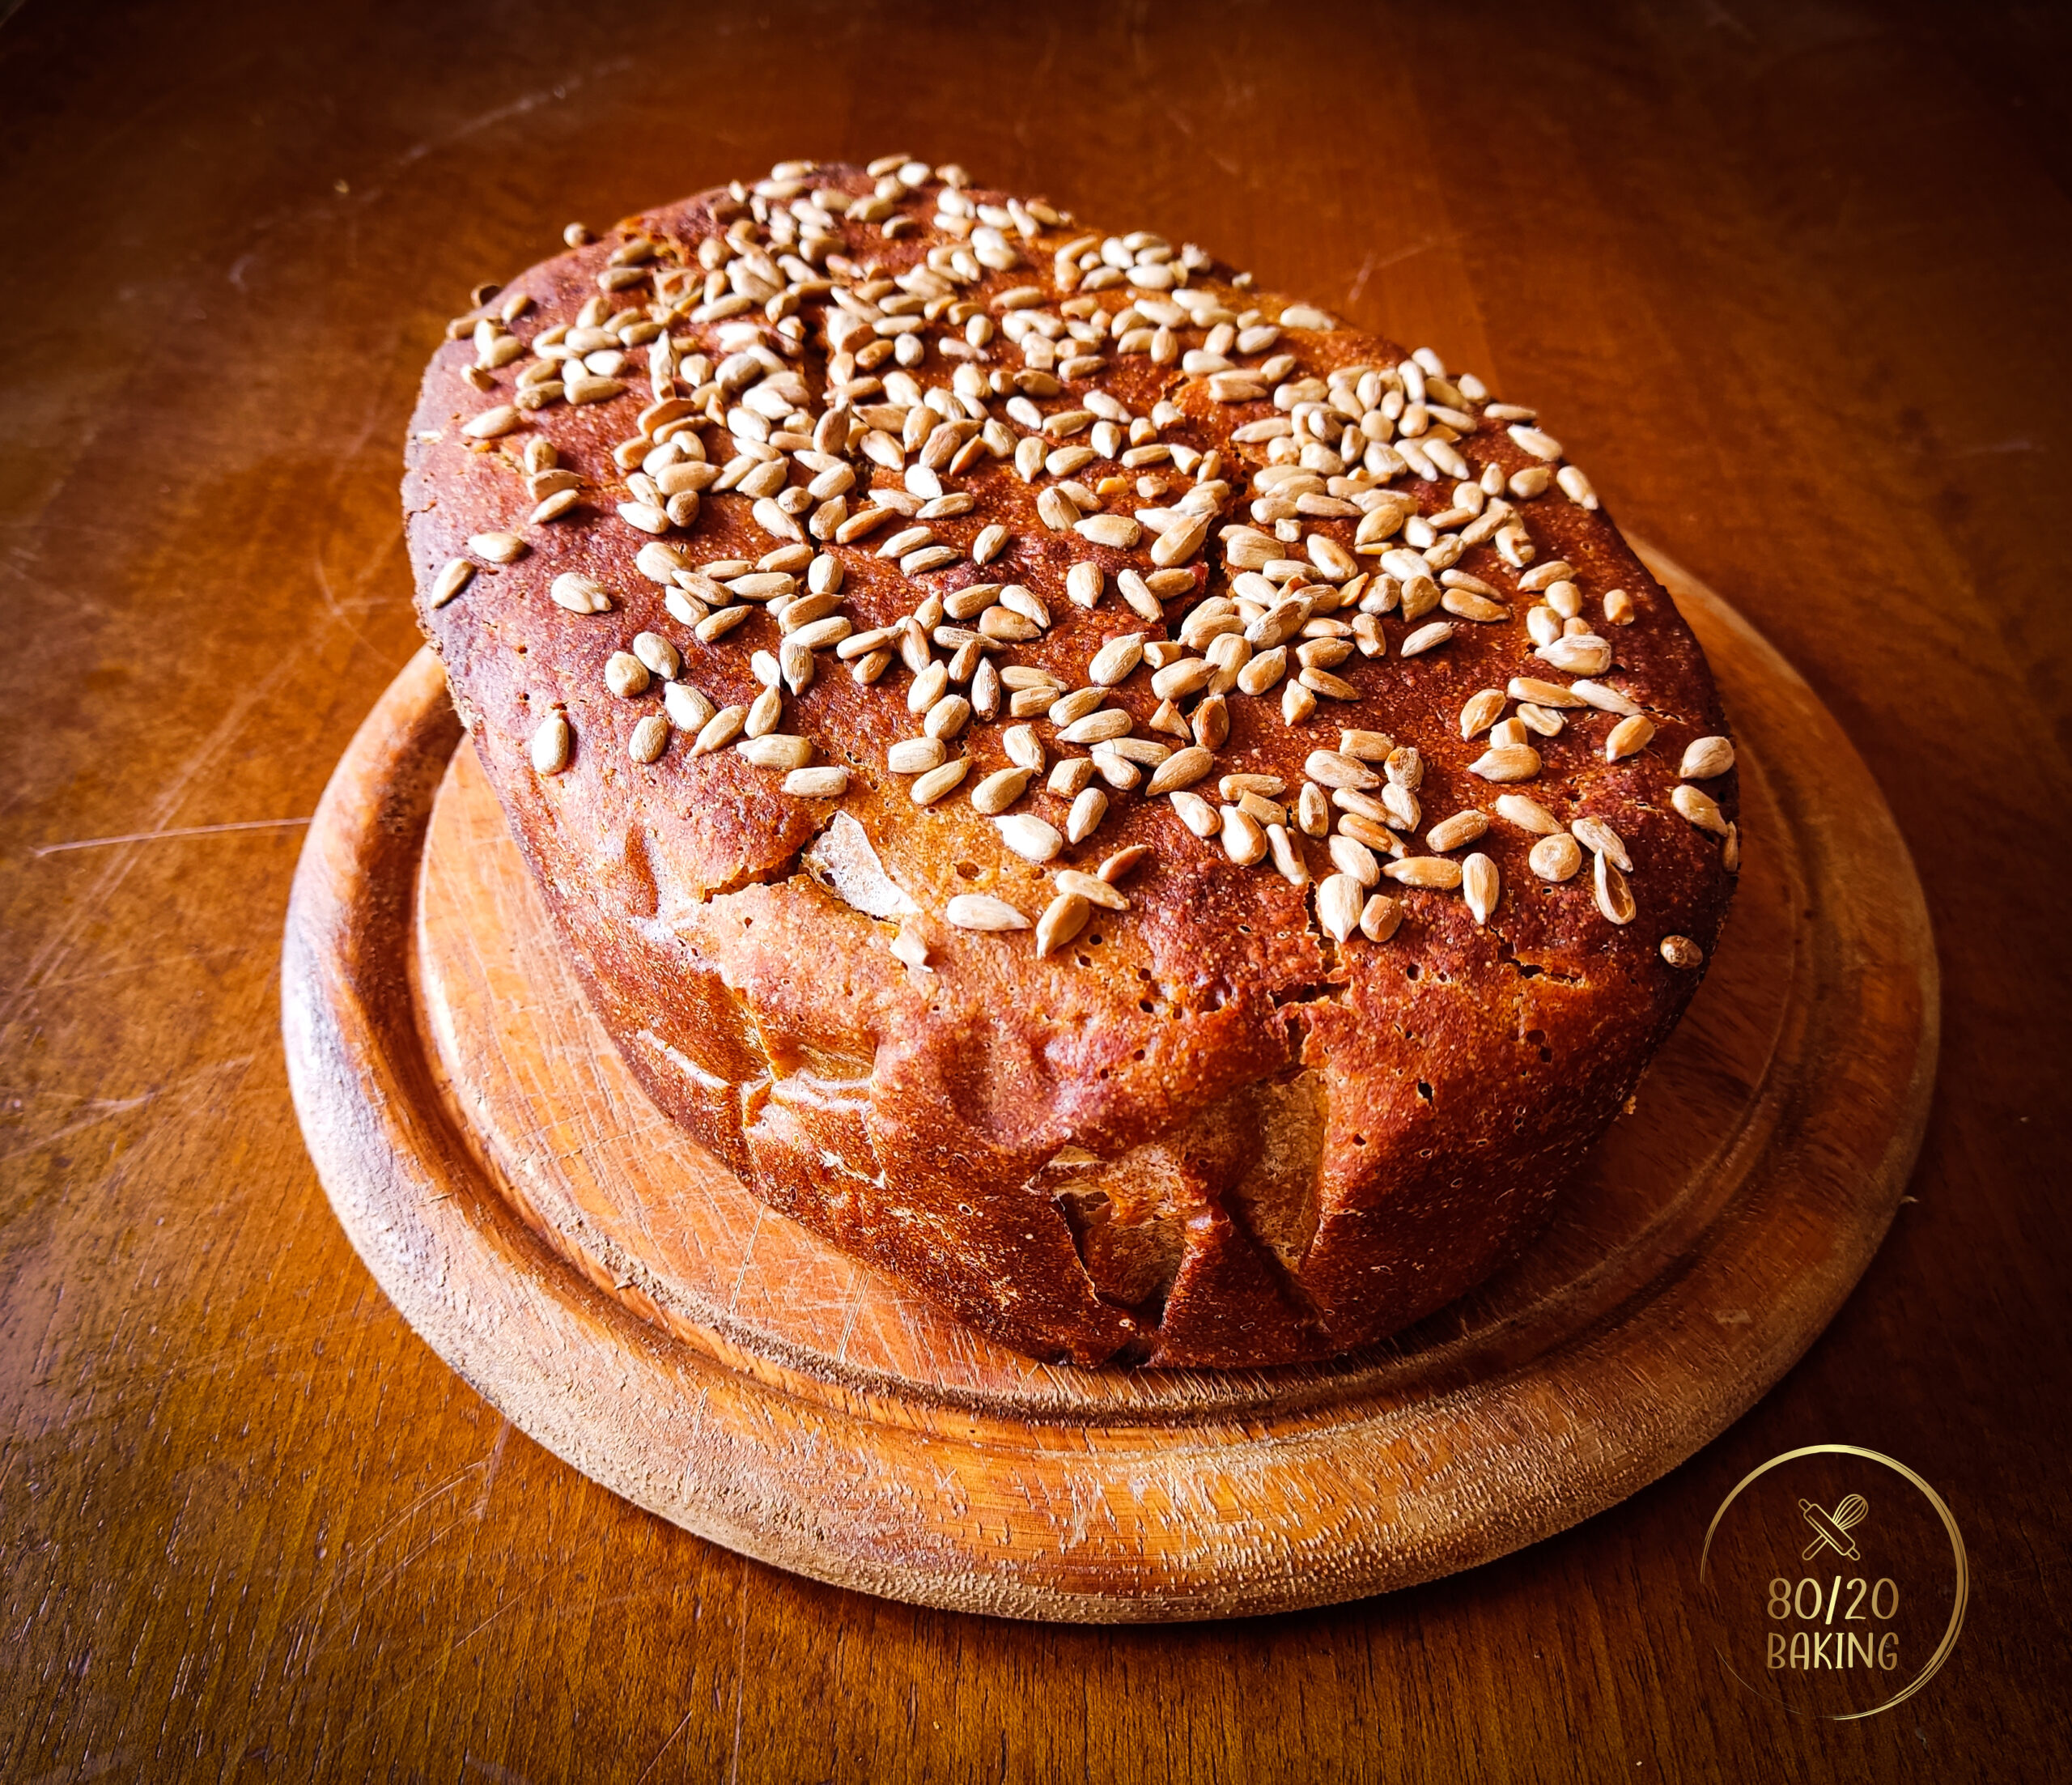
- If you want to add seeds to your bread: Dampen the surface of the bread using a brush and a little bit of water. Sprinkle the seeds (whichever you prefer) on the surface and press them gently into the bread.
- Preheat the oven to 240 degrees Celsius. When the oven gets warm, put the bread with the lid inside. Bake for 20 minutes. Remove the lid, reduce the temperature to 220 degrees Celsius, and bake until it gets a nice color (should be around 25 minutes).
- Get the bread out of the baking dish and leave it on the cooling rack to cool down completely ( it might take a while as this bread is really dense).